# MCP 服务推荐
上篇文章 Learn MCP 我们介绍了 MCP 协议、连接 MCP 服务以及构建自己的 MCP 服务,这篇文章我将推荐一些常用的 MCP 服务,以及怎么安装和使用这些 MCP 服务。平台包括 Cursor、Claude Desktop、Windsurf、VS Code 等。ChatGPT 目前还不支持 MCP 服务。
可以通过下列网站查看有哪些MCP 服务:
- GitHub MCP server registry (opens new window)
- MCP Servers (opens new window)
- Awesome MCP Servers (opens new window)
- punkpeye/awesome-mcp-servers (opens new window)
# 平台
# Cursor
Cursor 有多种方式安装 MCP 服务,这里推荐三种
# 通过插件
Cursor 插件 (opens new window) 将规则、技能、agents、命令、MCP 服务器和钩子打包成可分发的捆绑包。
我们可以在 插件市场 (opens new window) 或者 Cursor IDE 里浏览并安装官方插件。
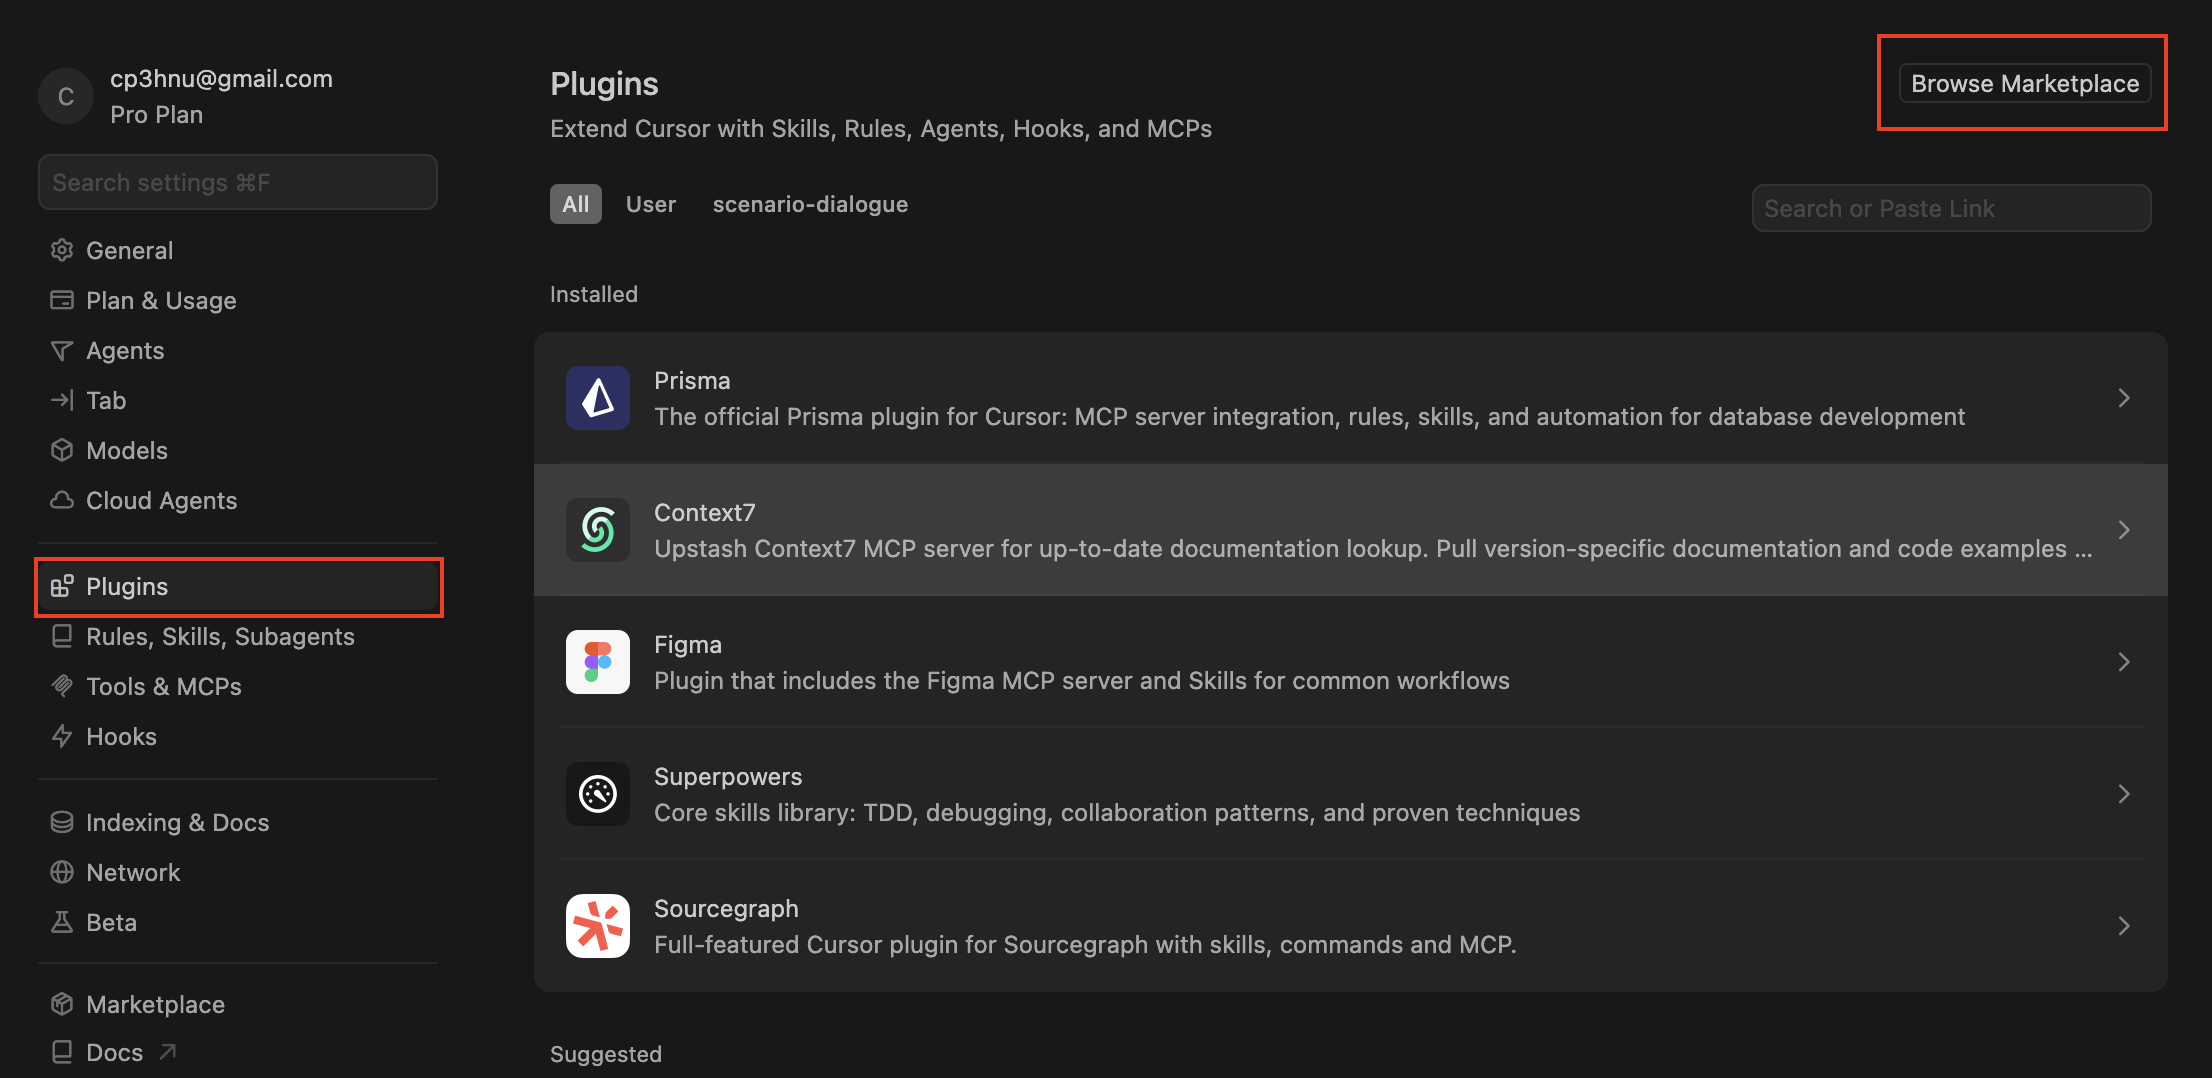
推荐通过这种方式安装 MCP 服务
# 通过 Cursor Universal Link
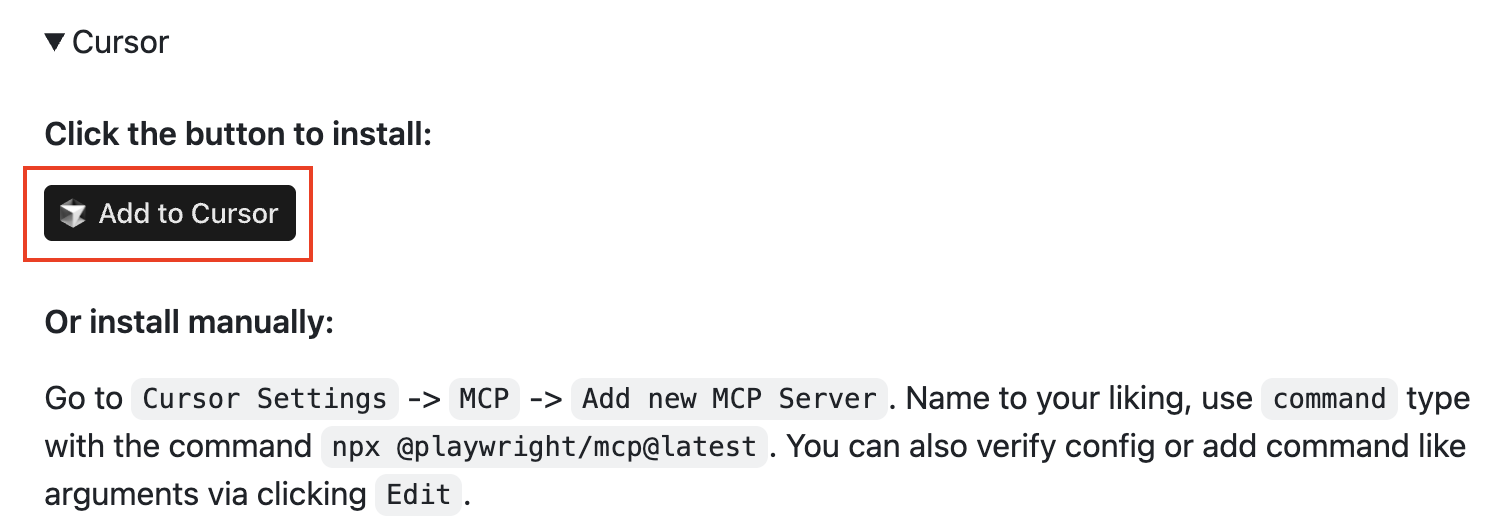
一些 MCP 服务提供了 Cursor Universal Link,比如 Playwright MCP (opens new window)。点击 "Add to Cursor" 即可完成安装。
# 手动安装
最后就是手动安装,打开 Cursor Setttings -> Tools & MCPs -> New MCP Server,打开了 ~/.cursor/mcp.json 文件,然后根据 MCP Server 的安装指南进行配置。
比如安装 GitHub MCP Server (opens new window)
{
  "mcpServers": {
    "github": {
      "url": "https://api.githubcopilot.com/mcp/",
      "headers": {
        "Authorization": "Bearer YOUR_GITHUB_PAT"
      }
    }
  }
}
2
3
4
5
6
7
8
9
10
# Claude
Claude 有多种方式安装 MCP 服务,这里介绍两种:
# Connectors
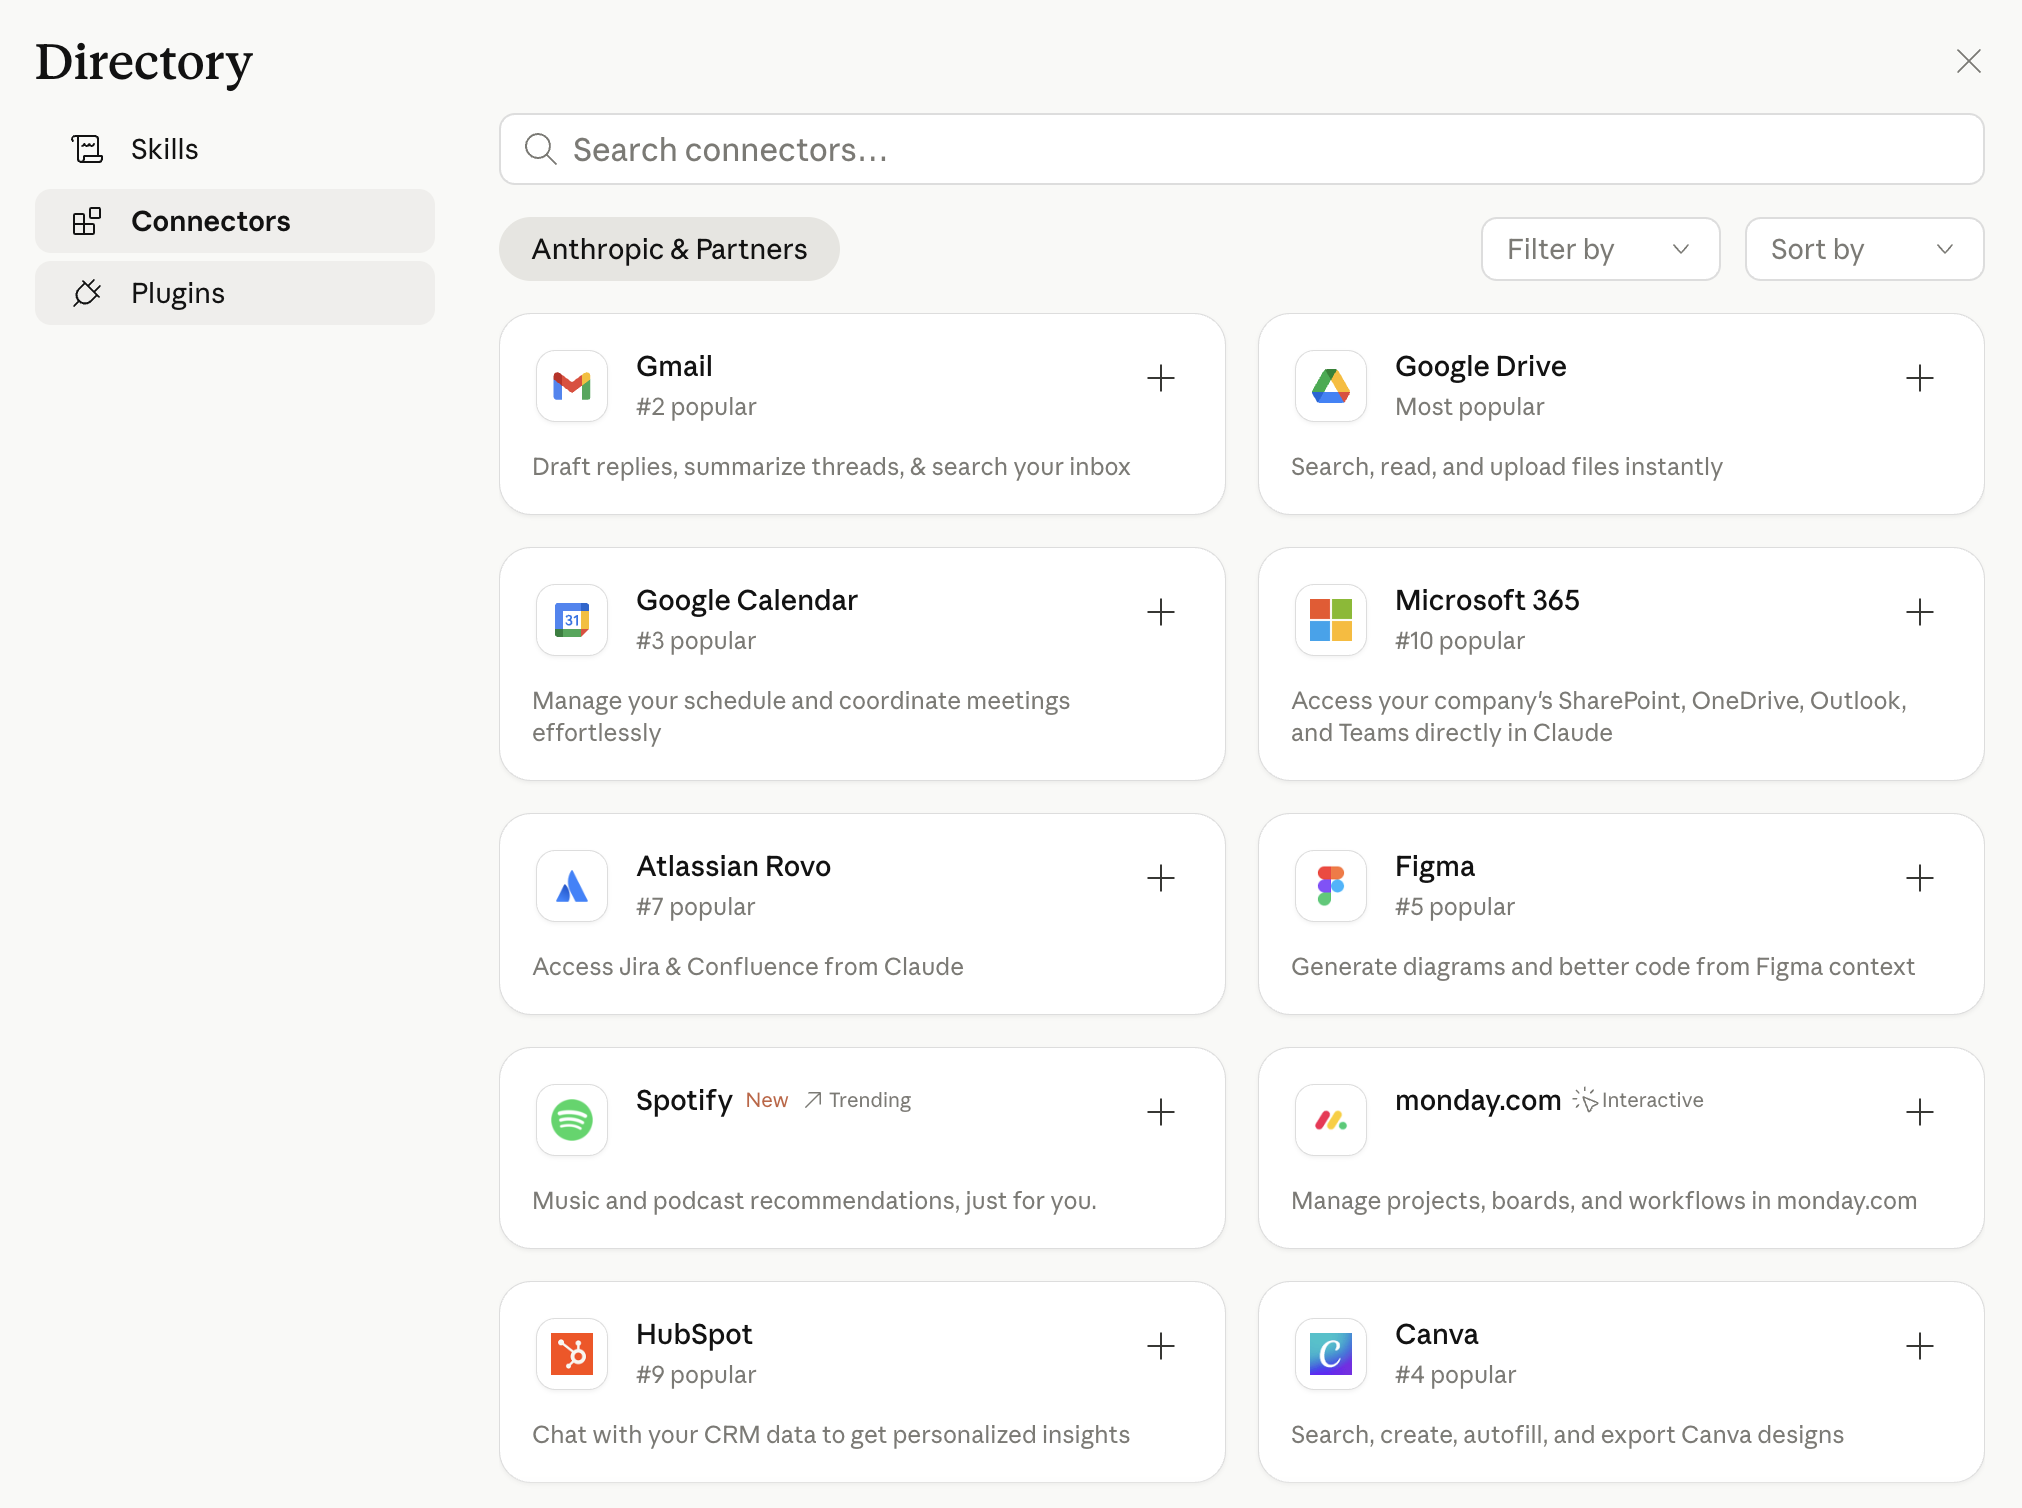
Settings -> Connectors -> Browser Connectors 搜索 MCP 服务,然后点击 "+" 安装
# 手动安装
然后打开 Claude 的配置文件,~/Library/Application Support/Claude/claude_desktop_config.json,然后根据 MCP Server 的安装指南进行配置。
比如安装 GitHub MCP Server (opens new window)。
{
  "mcpServers": {
    "github": {
      "url": "https://api.githubcopilot.com/mcp/",
      "headers": {
        "Authorization": "Bearer YOUR_GITHUB_PAT"
      }
    }
  }
}
2
3
4
5
6
7
8
9
10
# MCP 服务
# GitHub MCP Server
GitHub MCP Server (opens new window) 将 AI 工具直接连接到 GitHub 的平台,使 AI 工具能够读取存储库和代码文件、管理 issues 和 pull requests、分析代码以及自动化工作流。所有这些操作都可以通过自然语言交互实现。
接下来我们看看怎么在 Cursor 和 Claude 里安装与使用 GitHub MCP Server (opens new window)。
在安装之前,首先创建 GitHub Personal access tokens(PAT)。
GitHub.com (opens new window) -> "Settings" -> "Developer Settings" -> "Personal access tokens"
GitHub 有两种 Personal access tokens:
- classic token
- Fine-grained token
Fine-grained token 具有更细的权限控制,推荐使用,下面是他们的区别:
对比项 | Classic Token | Fine-grained Token |
|---|---|---|
| 推出时间 | 较早(旧版) | 新版(GitHub 2022 推出) |
| 安全性 | 较低 | 更高(推荐使用) |
| 权限粒度 | 粗(对整个账户或所有仓库) | 细(对特定仓库、组织、操作) |
| 作用范围 | 可访问所有仓库(如选了 repo 权限) | 仅限指定仓库或组织 |
| 权限配置 | 通过 scopes(如 repo, admin:org) | 通过具体资源 + 操作(如 “在 repo X 上有 read/write issues 权限”) |
| 可见范围 | 任何你账号下的 repo 都可能受影响 | 仅限你手动指定的 repo/organization |
| 过期时间 | 可永久 | 强制要求设置过期时间(提高安全性) |
| 适合场景 | 老旧工具、CI/CD 老配置 | 新项目、组织内项目、最小权限访问 |
| 推荐程度 | ⚠️ 不推荐(逐步弃用) | ✅ 官方推荐使用 |
创建好 PAT 之后,记得要立马记下,否则后面无法查看,只能再次生成。
# Cursor
在 Cursor 安装 GitHub MCP Server 简单,直接通过 Cursor Universal Link 安装。
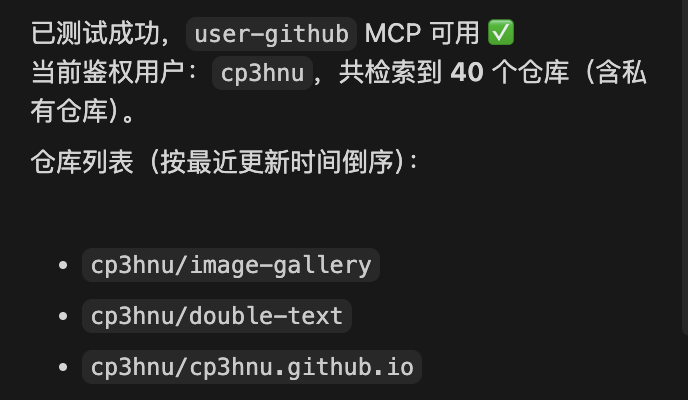
打开 Install GitHub MCP Server in Cursor (opens new window),点击 "Add to Cursor",填写 Token
# Claude
在 Claude 安装 GitHub MCP Server 也很简单。
打开 Claude 的配置文件:~/Library/Application Support/Claude/claude_desktop_config.json。添加下面的配置
{
  "mcpServers": {
    "github": {
      "command": "npx",
      "args": ["-y", "@modelcontextprotocol/server-github"],
      "env": {
        "GITHUB_PERSONAL_ACCESS_TOKEN": "Your Token"
      }
    }
  },
}
2
3
4
5
6
7
8
9
10
11
然后就可以使用 GitHub MCP Server 了。
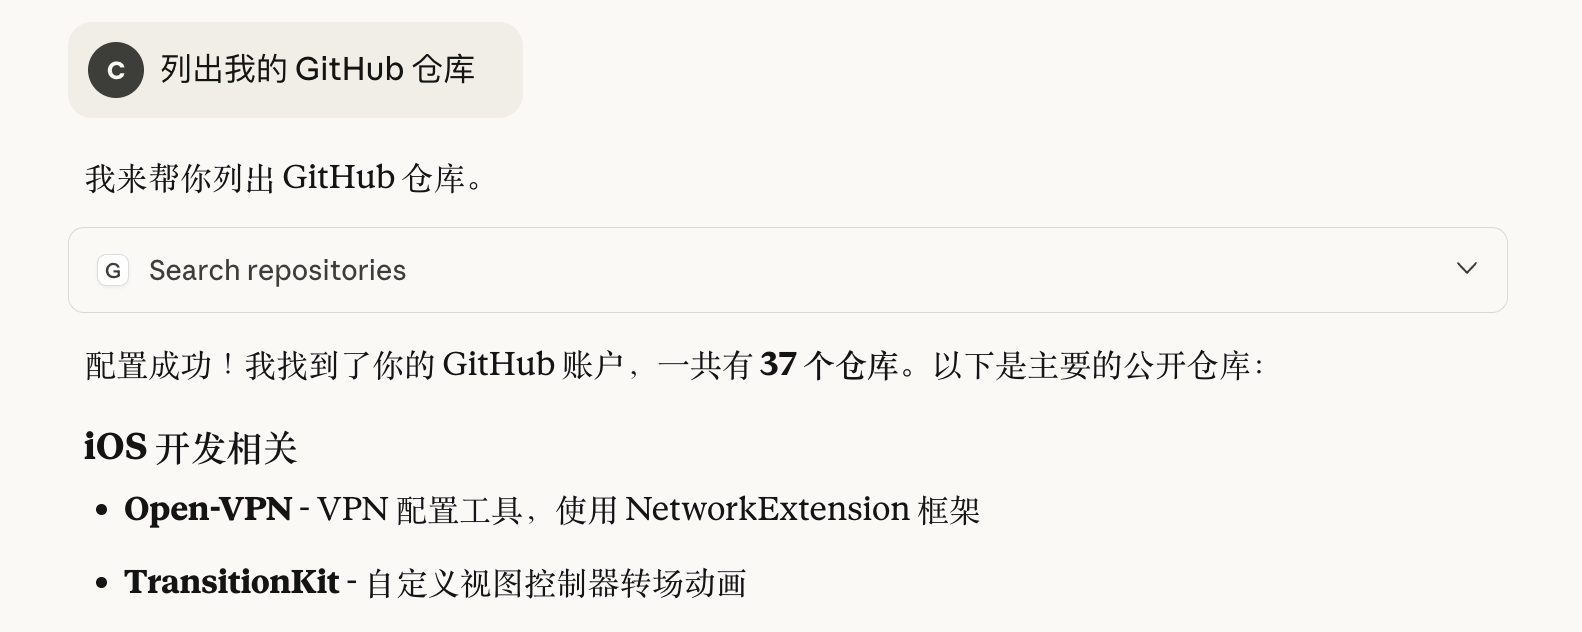
注意:Claude 的 GitHub Connector 与 GitHub MCP Server 不是同一个东西。GitHub Connector 是 Anthropic 为 Claude 桌面端提供的一种 “集成连接” 功能,让 Claude 直接访问您的 GitHub 账号中的资源(仓库、Issue、PR、文件等)。
GitHub Connector 不在本文的讨论中,要想了解 GitHub Connector 的详情,请参考 使用 GitHub 集成 (opens new window)。
# Context7
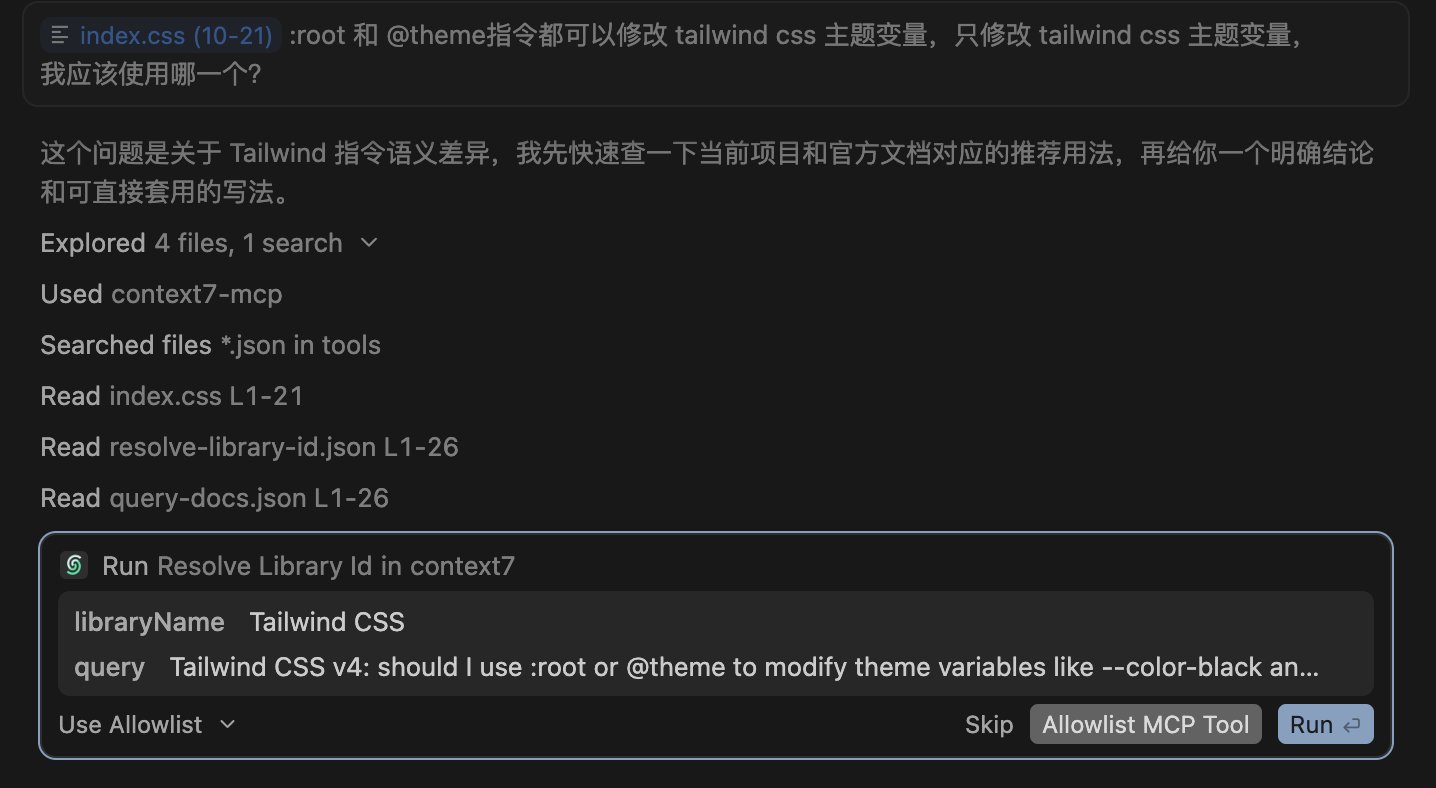
Context7 (opens new window) 从库或框架中获取最新的、特定于版本的文档和代码示例。
如果没有使用 Context 7,你可能得到:
❌ 已经过时的代码示例
❌ 不存在的 API
❌ 旧版本的答案
而使用 Context 7,你会得到最新的、特定于版本的文档和代码示例。
# Cursor
Cursor 可以通过插件安装 Context7。在 插件市场 (opens new window) 搜索 Context7,然后点击安装即可。
# Claude
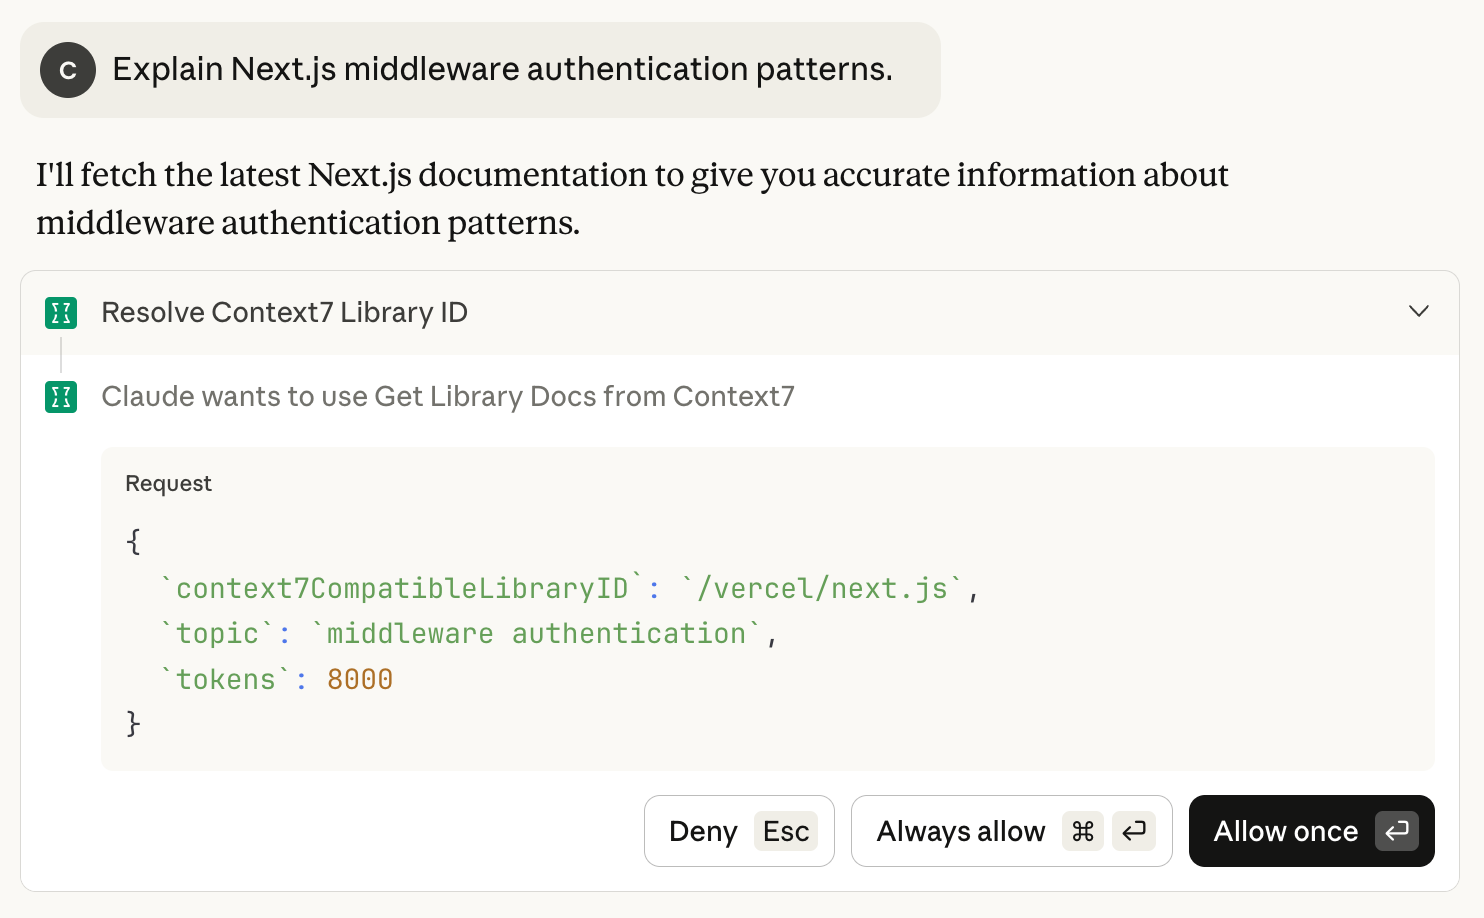
Claude 安装 Context 7 也有多种方式,最简单的方式通过 Extensions 安装
- 打开 "设置",选择 "Extensions"
- 点击 "Browse extensions",搜索
Context 7 - 点击安装
重启 Claude Desktop 就可以使用 Context 7 MCP server。也可以通过在 prompt 添加 use context7,强制使用 Context 7 MCP server。
# Figma
Figma MCP 将 Figma 直接入到您工作流程中。它提供重要的设计和上下文信息,以便 AI Agent 从 Figma 设计文件生成代码。
# Cursor
Cursor 可以通过插件安装 Figma。在 插件市场 (opens new window) 搜索 Figma,点击安装。然后在 Cursor Setttings -> Tools & MCPs,找到安装的 figma,点击旁边的 Connect,跳转到 Figma 进行授权。
然后在 Cursor 里要求 AI Agent 读取 Figma 设计,生成或重构前端界面。下面是我使用的一个例子:
请读取这个 Figma Make 设计并按它重构前端页面:https://www.figma.com/make/xxx
要求:
1) 技术栈保持 Next.js App Router + React + Tailwind;
2) 先抽取设计 token(颜色/间距/字体/圆角);
3) 再拆基础组件(Button/Input/Card/Nav);
4) 最后重构 /home 页面,业务逻辑不改,只改 UI;
5) 输出修改文件清单和本地验收步骤。
2
3
4
5
6
7